DIY Kitchens: How to Upcycle Old Cabinets Using Waterproof Paint Solutions sets the stage for this enthralling narrative, offering readers a glimpse into a story that is rich in detail and brimming with originality from the outset.
The following paragraphs will delve into the different aspects of transforming old cabinets into new using waterproof paint solutions.
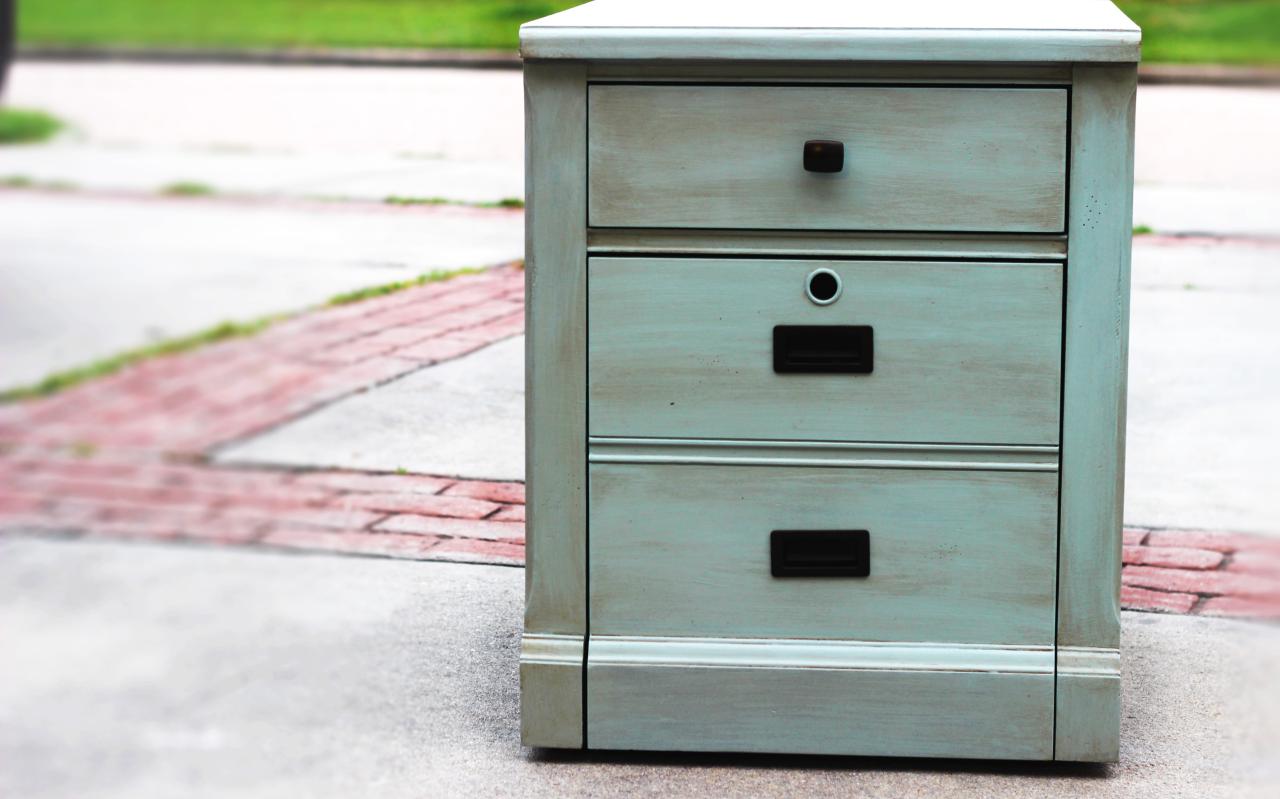
Overview of Upcycling Old Cabinets
Upcycling is the process of taking old or unused items and giving them a new purpose or improved appearance, rather than throwing them away. When it comes to old cabinets, upcycling can involve refinishing or repainting them to make them look brand new.
Benefits of Upcycling Old Cabinets
- Environmental Impact: Upcycling old cabinets reduces waste by giving them a new life instead of ending up in a landfill. This helps in conserving resources and reducing the carbon footprint associated with manufacturing new furniture.
- Modern Home Design: Upcycled cabinets can add a unique and personalized touch to your home decor. They can be customized to match your style and contribute to a more sustainable living space.
- Cost-Effectiveness: Upcycling old cabinets is often more budget-friendly than purchasing new ones. With some creativity and the right materials, you can transform your cabinets at a fraction of the cost of buying new ones.
Selecting the Right Waterproof Paint
When upcycling old cabinets for your kitchen, it is essential to choose the right waterproof paint to ensure longevity and durability. Here, we will explore different types of waterproof paint suitable for kitchen cabinets, the importance of moisture resistance, comparisons of various brands available in the market, and tips on selecting the right color for your upcycled cabinets.Types of Waterproof Paint
- Acrylic Paint: Known for its durability and resistance to moisture, acrylic paint is a popular choice for kitchen cabinets.
- Oil-Based Paint: Provides a smooth finish and excellent moisture resistance, making it suitable for areas prone to water exposure.
- Latex Paint: Offers quick drying time and easy cleanup, but may require additional coats for optimal waterproofing.
Importance of Choosing Moisture-Resistant Paint
- Moisture resistance is crucial in a kitchen environment where cabinets are exposed to steam, heat, and spills on a daily basis.
- Choosing a waterproof paint ensures that your cabinets remain in good condition and are protected from damage caused by moisture.
Comparison of Brands
- Behr Ultra: Known for its high-quality finish and excellent moisture resistance, Behr Ultra is a popular choice among DIY enthusiasts.
- Rust-Oleum: Offers a wide range of waterproof paint options with different finishes to suit your preferences.
- Sherwin-Williams: Known for its durability and color selection, Sherwin-Williams paints are a reliable choice for upcycling projects.
Tips for Selecting the Right Color
- Consider the overall color scheme of your kitchen to ensure that the cabinet color complements the space.
- Opt for neutral tones for a timeless look or bold colors for a statement piece in your kitchen.
- Sample different colors on a small area of the cabinet to see how they look in different lighting conditions before making a final decision.
Preparing Cabinets for Painting
Before you start painting your old cabinets, it's crucial to properly prepare them to ensure a smooth and durable finish. This involves cleaning, sanding, filling any imperfections, and removing old paint or varnish.Cleaning and Sanding
- Start by removing all hardware such as handles and hinges from the cabinets.
- Clean the cabinets thoroughly with a mixture of warm water and mild detergent to remove grease, dirt, and grime.
- Once the cabinets are clean and dry, lightly sand the surfaces to roughen them up and create a better surface for the paint to adhere to.
- Use a fine-grit sandpaper (such as 120-150 grit) and sand in the direction of the wood grain to avoid scratching the surface.
Filling Cracks and Holes
- Inspect the cabinets for any cracks, holes, or imperfections that need to be filled.
- Use a wood filler or spackling compound to fill in any gaps or holes, following the manufacturer's instructions.
- Once the filler is dry, sand it down to ensure a smooth and even surface before painting.
Removing Old Paint or Varnish
- If your cabinets have old paint or varnish that needs to be removed, you can use a chemical paint stripper or sanding method.
- Follow the instructions on the paint stripper carefully and wear protective gear such as gloves and a mask.
- If using sanding method, use a coarse sandpaper (such as 60-80 grit) to remove the old finish, then switch to a finer grit for a smoother surface.
- After removing the old paint or varnish, make sure to clean and sand the cabinets again before applying the new waterproof paint.
Applying Waterproof Paint

When it comes to upcycling old cabinets, applying waterproof paint is a crucial step to ensure durability and longevity. Here is a step-by-step guide on how to paint cabinets evenly and achieve a smooth, professional finish.
Step-by-Step Guide:
- Clean the cabinets thoroughly to remove any dust, grease, or residue that may affect the paint adhesion.
- Sand the cabinets lightly to create a smooth surface for the paint to adhere to.
- Apply a primer specifically designed for use on cabinets to ensure proper adhesion and durability.
- Use a high-quality waterproof paint suitable for cabinets, applying it evenly with a brush or roller in thin, smooth coats.
- Allow each coat to dry completely before applying the next one to avoid drips or streaks.
- Finish with a waterproof sealant to protect the paint and ensure long-lasting results.
Techniques for a Professional Finish:
- Use long, smooth strokes when applying the paint to minimize brush marks and achieve a seamless finish.
- Avoid overloading the brush or roller with paint to prevent drips and ensure an even application.
- Work in small sections at a time to maintain control over the paint application and achieve a consistent finish.
Tips to Avoid Drips or Streaks:
- Ensure the paint is well mixed before application to maintain a consistent color and texture throughout.
- Avoid painting in direct sunlight or high humidity, as this can cause the paint to dry too quickly and lead to streaks.
- If drips occur, gently sand them away once the paint has dried before applying an additional coat.
Curing and Sealing the Painted Cabinets
After applying waterproof paint to your old cabinets, it's crucial to allow the paint to cure properly to ensure durability and longevity. This process involves drying and sealing the painted surface effectively.
Ideal Drying and Curing Times
Different types of waterproof paint require varying drying and curing times to achieve optimal results. It's essential to follow the manufacturer's instructions for the specific paint you've used. As a general guideline, acrylic-based waterproof paints usually dry within a few hours but may take up to a week to fully cure. Oil-based paints may require longer drying and curing times.
Sealing the Painted Cabinets
- Once the paint has dried, consider applying a clear sealant or topcoat to the cabinets for added protection against moisture, stains, and scratches.
- Choose a sealant that is compatible with the waterproof paint you used to ensure proper adhesion and longevity of the finish.
- Apply the sealant in thin, even coats, following the manufacturer's recommendations for drying times between coats.
Maintaining Painted Cabinets
- Regularly clean the painted cabinets with a mild soap and water solution to remove dirt and grime without damaging the finish.
- Avoid using harsh chemicals or abrasive cleaners that can strip the sealant and damage the paint.
- Inspect the cabinets periodically for any signs of wear or damage, and touch up any areas that may need repainting or resealing.
Final Wrap-Up
In conclusion, DIY Kitchens: How to Upcycle Old Cabinets Using Waterproof Paint Solutions provides a comprehensive guide to revamping your kitchen cabinets with creativity and cost-effectiveness.
Frequently Asked Questions
What are the benefits of upcycling old cabinets?
Upcycling old cabinets helps reduce waste, is environmentally friendly, and can give your kitchen a unique look.
How do you choose the right waterproof paint for cabinets?
Consider the type of paint suitable for kitchens, its moisture resistance, and choose a color that complements your kitchen design.
What is the importance of allowing the paint to cure properly?
Proper curing ensures the paint adheres well and provides a durable finish for the cabinets.
How do you maintain painted cabinets long-term?
Regular cleaning, avoiding harsh chemicals, and periodic resealing can help maintain the painted cabinets for years to come.


